I think the Fast & Fabulous hostess stamp set might be my favorite set right now. I just got it and I love it!
The colors I used in this card are Pink Pirouette, Old Olive, Perfect Plum and Whisper White card stock and Pretty in Pink, Old Olive and Perfect Plum ink.
I used the Just Believe Stamp for the sentiment and inked only the 'believe' word with a marker, without the 'd' that's on the stamp and punched it out with the Modern Label punch.

I used masking to make the flower image which means that I stamped my flower on plain computer paper and then carefully cut it out. I then stamped my image again on my card stock and put removable adhesive on the back of my cut out shape. I stuck this over my stamped image and stamped around it overlapping the flower. It does not show up over the main flower because it has the paper over the top. When you remove the paper on the top you then have a stamped image that looks like your main flower is in front of the other flowers.
To make the button I used Perfect plum card stock and punched out five 1" circles. I used two-way glue to stick them together in an even stack. I then punched two 3/4" circles in my paper and cut out the 1" circle centered over it so I had the two outside rings. I used two-way glue to put these on the outside and punched my holes in the middle with the Crop-a-dile. I used the sanding block to sand the outside edges so they are smooth and you can't see the stack of paper edges. I put it on wax paper and then I covered it with Crystal Effects. Once it dries you have a button in any color!


 Swap Garden Bag
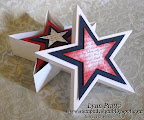 Star Cards/Box
 Fun Frames
 Treasure Box, Card
 Fun Folds Open Sea
 Glider Card
 Nurse Box & Cards
 Race Car Box
 Castle Frame
 Egg Gift Card
 Bug Cards
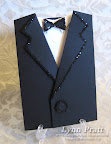 Tux card
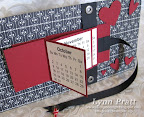 Flip Calendar
 Photo CD Album
 Gingerbread Box
 Gift Card Holder
 Fold Scrapbook
 Diabetes Purse
 X-mas Cards
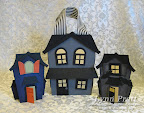 Haunted House
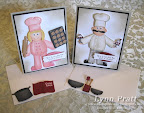 Chef Pop-out
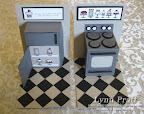 Chef Pop-out
 Owl Cards 2
 Spooky Punches
 Foliage Box+Cards
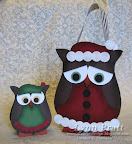 Owl Purse +Cards
 Bus, Fire, Police
 Briefcase & Cards
 Cylinder Purse
 AE 3 Cards
 Pie Box&Card
 Potato Heads
 Castle Album
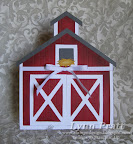 Scrapbook Album
 Scrapbook Album
 Purse & Wallet
 Jar Cards
 Animal Cards
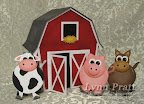 Barn & Cards
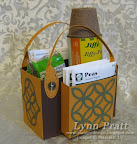 Gardeners Bag
 Picnic Basket
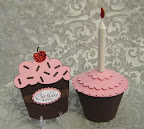 Cupcake cup
 Chocolate Candy
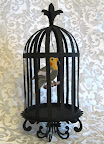 Bird in Cage
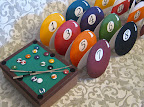 Pool Table
 Wheelbarrow
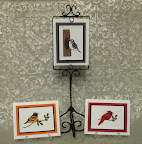 Bird Cards#2
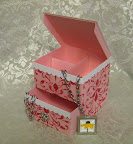 Jewelry Box
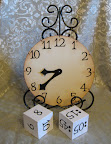 Clock Game
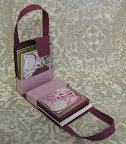 Purse & Cards
 Rag Purse
 Teapot and Cards
 Sheep box & cards
 Egg Box & Chicks
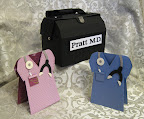 Doctor's Bag
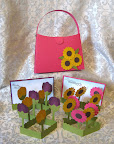 Pop-out Flower
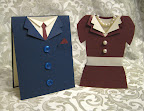 Suit Dress Card
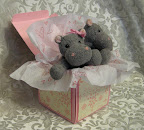 Explosion Box
 Vest Card
 Tackle Box
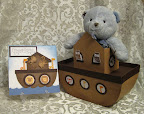 Noah's Ark
 Love Coupon
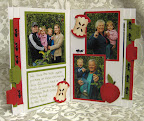 Pull-out Scrapbook
 Calendar Book
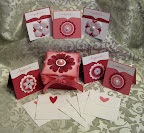 Card Box
 Cupcake Box
 Photo Box
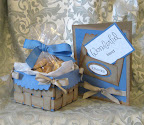 Woven Basket
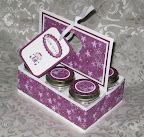 Six Pack Baby Jars
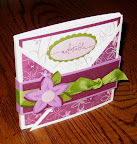 Scrapbook
 Scrapbook
 Santa Wine
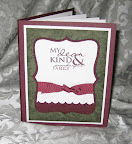 Top Note Album
 Top Note Album
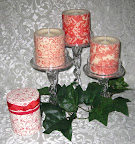 Decorative Candles
 Origami Cube-Box
 Origami Album


