
I saw this mouse on Ellen Kemper's site and I just had to play around with him! He is so cute! I made mine a carolling Christmas mouse. This little guy is all punches so I will tell you whats what. Sorry, no time for step by step pictures today.
Ears - butterfly punch - cut in half gives you 2 ears
Head - ornament punch
Body - wide oval
Mouth - small oval punch with end cut down
Nose - small heart in Heart to Heart punch with a little trimmed off the point
Feet - 3/4 inch circle punch - cut in half gives you 2 feet
Arms/hands - small oval punch - cut in half gives you 2 arms, folded to make the hand holding toe carols
Hat brim - scallop oval punch using one of the curved ends
red part of hat - square punch with a little trimmed off
Pom pom on hat - could use the trio flower punch but I don't have it
Cookies - wide oval and then cut down a little again
Choc. chips - end of small heart from the Heart to Heart punch
Tail - cut free hand using the wide oval punch to go around
Tooth - freehand
Carol book - freehand
Plate - freehand
The wording I printed off the computer.
Hope you like him!

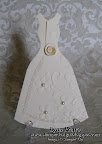
 I used the Texturz plate on very vanilla paper and then cut it to look like a wedding dress. Also used the Pretties kit on this, such a nice container of stuff that is. Died the flower with vanilla craft ink. Wow, today has been a busy stamping day!


 So... I think I'm obsessed with this little mouse. I just needed to make him eating some Thanksgiving turkey! Check my other mouse post to see the pieces to make him. Soon, I might need a little girlie mouse to be his friend...


 This is my Ornament Holder Box, I have also seen it called an origami pop up box. I had seen it using 12" x 12" paper and wanted to make it smaller to fit on an 8 1/2" x 11" paper. I don't have every color in the big size and I wanted to be able to make it out of any color I wanted! Click on the title or CLICK HERE to get the step by step directions with photos! I thought it would be the perfect box to hold my punch ornaments! Here is the link to them:


 Click on the title to get the project details! You can purchase this project ready to assemble!


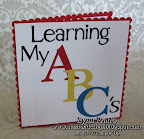 ABC Book
 3 Card w/ Box
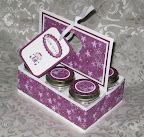
 Jar Gift Set
 Pocket Glider Card
 Tri-fold Wedding
 Sunhat & Glasses
 Flirtatious Purse
 Swap Garden Bag
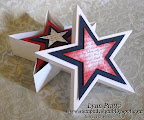 Star Cards/Box
 Fun Frames
 Treasure Box, Card
 Fun Folds Open Sea
 Glider Card
 Nurse Box & Cards
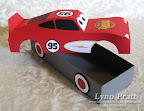 Race Car Box
 Castle Frame
 Egg Gift Card
 Bug Cards
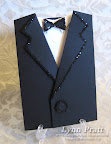 Tux card
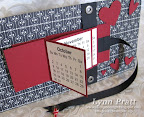 Flip Calendar
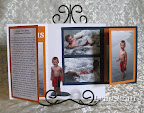
 Photo CD Album
 Gingerbread Box
 Gift Card Holder
 Fold Scrapbook
 Diabetes Purse
 X-mas Cards
 Haunted House
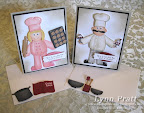 Chef Pop-out
 Chef Pop-out
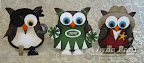 Owl Cards 2
 Spooky Punches
 Foliage Box+Cards
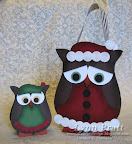 Owl Purse +Cards
 Bus, Fire, Police
 Briefcase & Cards
 Cylinder Purse
 AE 3 Cards
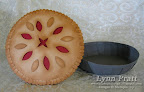 Pie Box&Card
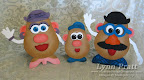 Potato Heads
 Castle Album
 Scrapbook Album


 Scrapbook Album
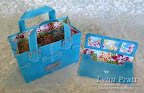 Purse & Wallet
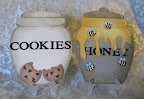 Jar Cards
 Animal Cards
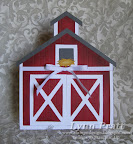
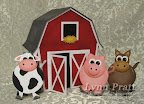 Barn & Cards
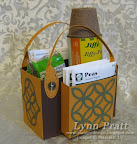 Gardeners Bag
 Picnic Basket
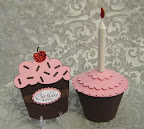 Cupcake cup
 Chocolate Candy
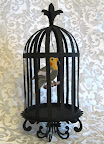 Bird in Cage
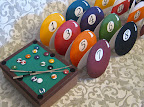 Pool Table
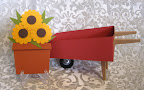 Wheelbarrow
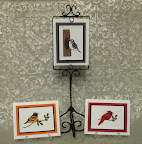 Bird Cards#2
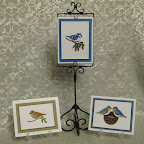 Bird Cards
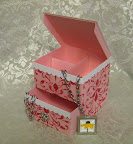 Jewelry Box
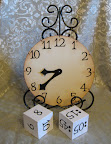 Clock Game
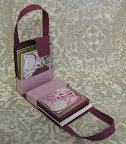 Purse & Cards
 Rag Purse
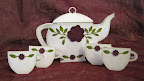 Teapot and Cards
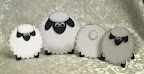 Sheep box & cards
 Egg Box & Chicks
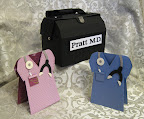 Doctor's Bag
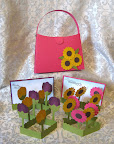 Pop-out Flower
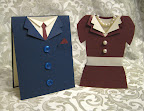 Suit Dress Card
 Explosion Box
 Vest Card
 Tackle Box
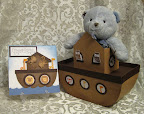 Noah's Ark
 Love Coupon
 Pull-out Scrapbook
 Calendar Book
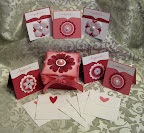 Card Box
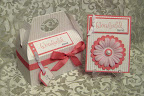 Cupcake Box
 Photo Box
 Woven Basket
 Six Pack Baby Jars
 Scrapbook
 Scrapbook
 Santa Wine
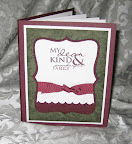 Top Note Album
 Top Note Album
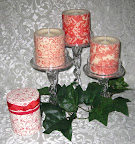 Decorative Candles
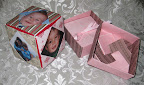 Origami Cube-Box
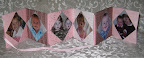 Origami Album
